Confluence on Ubuntu 9.10 (Karmic)
- Deprecated guides:
- Ubuntu 10.04
- Fedora 13
- Debian 5
- CentOS 5
Traducciones al EspañolEstamos traduciendo nuestros guías y tutoriales al Español. Es posible que usted esté viendo una traducción generada automáticamente. Estamos trabajando con traductores profesionales para verificar las traducciones de nuestro sitio web. Este proyecto es un trabajo en curso.
DeprecatedThis guide has been deprecated and is no longer being maintained.
Confluence is a popular wiki system that features easy editing and publishing, Microsoft Office and SharePoint integration, the ability to add custom features via plugins, and more. It is free for use by official non-profit organizations, charities, educational institutions, and established open source projects. These guides will help you get started with Confluence on your Ubuntu 9.10 (Karmic) Linode. It is assumed that you’re starting with a freshly deployed system. If you’ve already deployed applications to your Linode, you may need to make some adjustments to these instructions to accommodate your existing setup. It is also assumed that you’ve already obtained a license key for Confluence; if not, please do so before proceeding. These steps should be performed as the “root” user via an SSH session.
Set the Hostname
Before you begin installing and configuring the components described in this guide, please make sure you’ve followed our instructions for setting your hostname. Issue the following commands to make sure it is set properly:
hostname
hostname -f
The first command should show your short hostname, and the second should show your fully qualified domain name (FQDN).
Install Confluence
Edit the /etc/apt/sources.list file, adding the following “mutliverse” repository lines if they don’t already exist. The multiverse repository is required to allow the installation of the Sun Java 6 JDK; alternate Java JDK packages (such as OpenJDK) are not supported by Confluence as of this writing.
- File: /etc/apt/sources.list
1
2
3
4
5
6
7
8
9
## multiverse repositories deb http://us.archive.ubuntu.com/ubuntu/ karmic multiverse deb-src http://us.archive.ubuntu.com/ubuntu/ karmic multiverse deb http://us.archive.ubuntu.com/ubuntu/ karmic-updates multiverse deb-src http://us.archive.ubuntu.com/ubuntu/ karmic-updates multiverse deb http://security.ubuntu.com/ubuntu karmic-security multiverse deb-src http://security.ubuntu.com/ubuntu karmic-security multiverse
Issue the following commands to update your package repositories and install all available application updates.
apt-get update
apt-get upgrade --show-upgraded
Issue the following command to install prerequisite packages.
apt-get install sun-java6-jdk libice-dev libsm-dev libx11-dev libxext-dev libxp-dev libxt-dev libxtst-dev
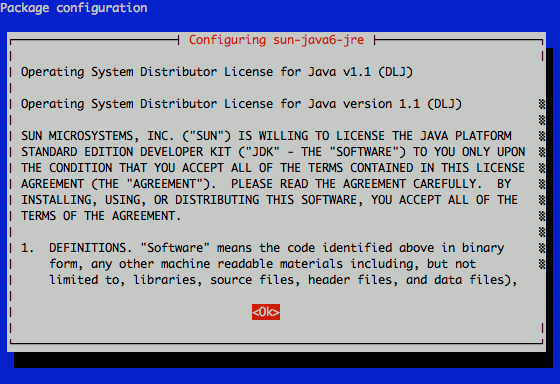
When prompted, review the Sun Java 6 license.
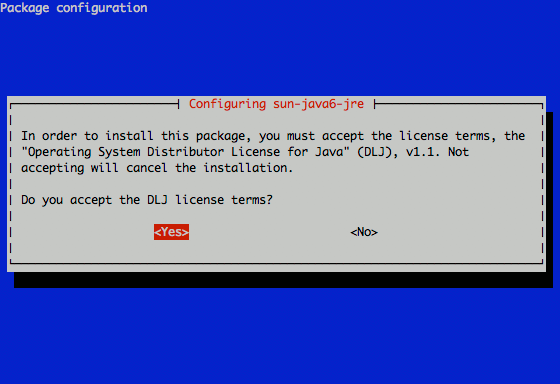
Accept the license to proceed with installation.
Create a user account and directories for Confluence by issuing the following commands. Be sure to set a strong password to the confluence user.
groupadd confluence
useradd confluence -g confluence -d /var/lib/confluence
passwd confluence
mkdir /var/lib/confluence
chown confluence:confluence /var/lib/confluence
mkdir /usr/local/confluence
chown confluence:confluence /usr/local/confluence
Visit the Confluence download page to obtain a link to the latest version to the software for Linux. Issue the following commands to download and unpack the software archive, adjusting the wget command as necessary to reflect the correct link.
su - confluence
cd /usr/local/confluence
wget http://www.atlassian.com/software/confluence/downloads/binary/confluence-3.3.1-std.tar.gz
tar -xvf confluence*gz
Edit the confluence-init.properties file, adding the following line to it. Adjust the full path to the file as necessary to reflect the current version number.
- File: /usr/local/confluence/confluence-3.3.1-std/confluence/WEB-INF/classes/confluence-init.properties
1confluence.home=/var/lib/confluence
Edit the setenv.sh file, adding the following lines. Adjust the full path to the file as necessary to reflect the current version number.
- File: /usr/local/confluence/confluence-3.3.1-std/bin/setenv.sh
1 2JAVA_HOME="/usr/lib/jvm/java-6-sun" export JAVA_HOME
Issue the following command to return to a root shell.
exit
Issue the following commands to create an init script to control the Confluence application, mark this file executable, and configure Confluence to start automatically when the system boots:
cd /opt/
wget -O init-deb.sh http://www.linode.com/docs/assets/615-init-deb.sh
mv init-deb.sh /etc/init.d/confluence
chmod +x /etc/init.d/confluence
update-rc.d confluence defaults
Confluence should now be installed. Next, you’ll create a database to store information related to your Confluence installation.
Create the Confluence Database
Issue the following commands to install PostgreSQL and some useful “contrib” components.
apt-get install postgresql postgresql-contrib
su - postgres
psql template1 < /usr/share/postgresql/8.4/contrib/adminpack.sql
exit
You should see output similar to the following:
CREATE FUNCTION
CREATE FUNCTION
CREATE FUNCTION
CREATE FUNCTION
CREATE FUNCTION
CREATE FUNCTION
CREATE FUNCTION
CREATE FUNCTION
Issue the following command to set a password for the postgres system user. While not strictly required, it can be useful for cases where you want to do things like establish an SSH tunnel to the postgres account for remote administration.
passwd postgres
Issue the following commands to set a password for the postgres administrative user. Be sure to replace “changeme” with a strong password. This password will be used to connect to the database via the network; ident authentication will be used for local connections made with psql while logged into a shell as the postgres user.
su - postgres
psql -d template1 -c "ALTER USER postgres WITH PASSWORD 'changeme';"
Issue the following command to create a confluence PostgreSQL role, making sure to assign a strong password.
createuser confluence --pwprompt
Use the following values when asked about various settings.
Shall the new role be a superuser? (y/n) n
Shall the new role be allowed to create databases? (y/n) y
Shall the new role be allowed to create more new roles? (y/n) n
Create the Confluence database by issuing the following commands.
exit
su - confluence
createdb confluence
exit
PostgreSQL should now be properly configured. Next, you’ll create a virtual host for your Confluence site.
Create a Virtual Host for Confluence
By default, the web interface for Confluence runs on port 8080. If you’re comfortable with instructing your users to use this port, you may skip this section. Otherwise, follow these instructions to use the Apache web server to host a traditional virtual host for your Confluence installation.
Issue the following commands to install Apache and enable proxy modules.
apt-get install apache2
a2enmod proxy
a2enmod proxy_http
Edit the /etc/apache2/mods-available/proxy.conf file to match the following example.
- File: /etc/apache2/mods-available/proxy.conf
 1
 2
 3
 4
 5
 6
 7
 8
 9
10
11
12
13
14
15
16
17
18
<IfModule mod_proxy.c> #turning ProxyRequests on and allowing proxying from all may allow #spammers to use your proxy to send email. ProxyRequests Off <Proxy *> AddDefaultCharset off Order deny,allow Allow from all </Proxy> # Enable/disable the handling of HTTP/1.1 "Via:" headers. # ("Full" adds the server version; "Block" removes all outgoing Via: headers) # Set to one of: Off | On | Full | Block ProxyVia On </IfModule>
Create a virtual host configuration file for your Confluence site. Use the following example, editing the filename and contents as necessary to reflect your actual domain name and public IP address. Please note that you will need to add an “A” record to your DNS configuration to point the site to your Linode’s public IP address. This example assumes that Confluence will be running on its default port (8080).
- File: /etc/apache2/sites-available/confluence.example.com
1
2
3
4
5
6
<VirtualHost *:80> ServerAdmin support@example.com ServerName confluence.example.com ProxyPass / http://localhost:8080/ ProxyPassReverse / http://localhost:8080/ </VirtualHost>
Issue the following commands to enable the site, restart Apache, and start Confluence.
a2ensite confluence.example.com
/etc/init.d/apache2 restart
/etc/init.d/confluence start
Apache should now be properly configured. Next, you’ll configure Confluence.
Configure Confluence
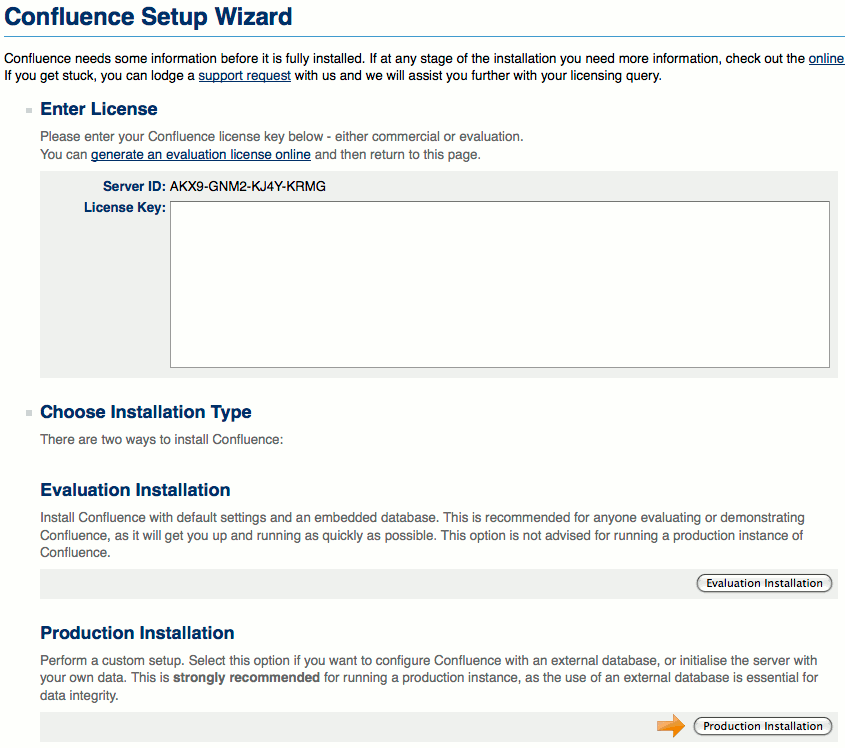
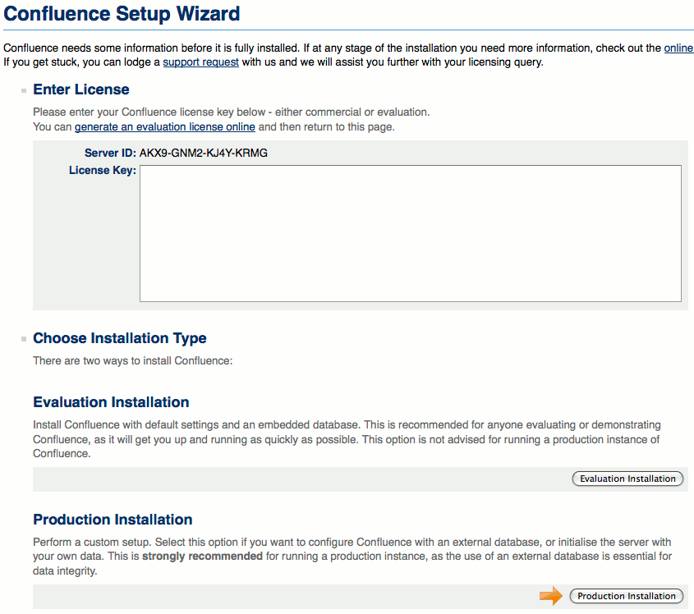
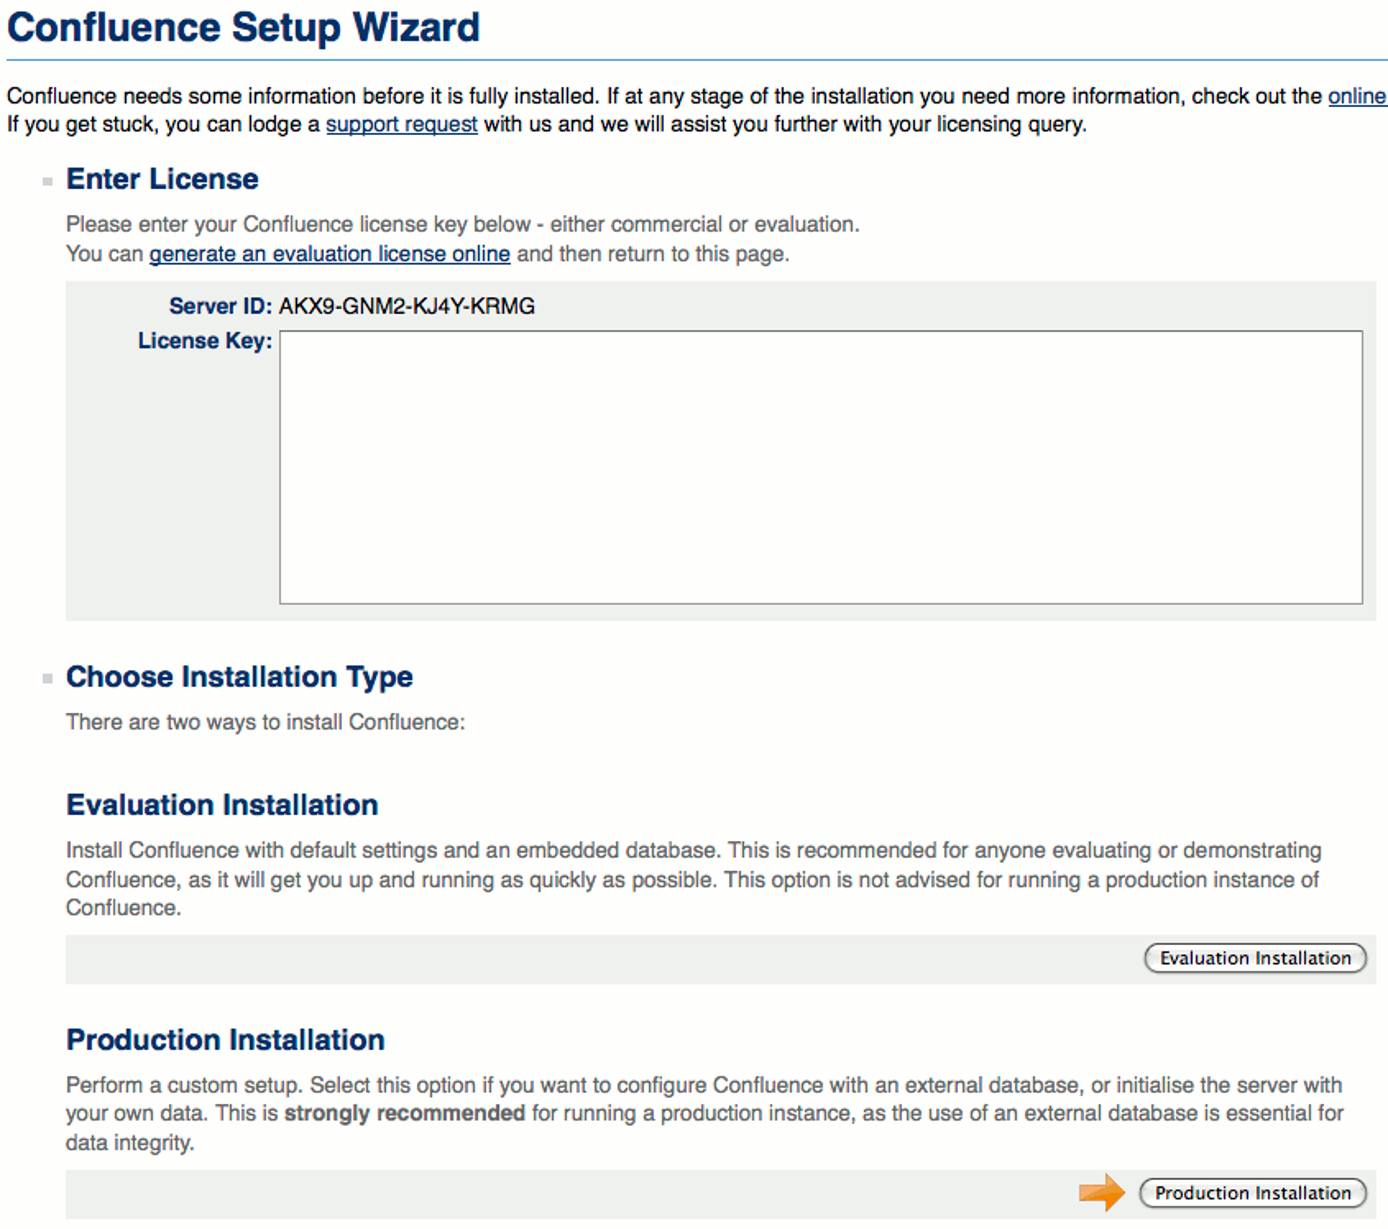
If you created a virtual host for your Confluence installation, direct your browser to http://confluence.example.com, replacing “confluence.example.com” with the site you set up with Apache. Otherwise, visit the URL http://12.34.56.78:8080, replacing “12.34.56.78” with your Linode’s public IP address. Enter your license key on the first screen and click the “Production Installation” button to continue.

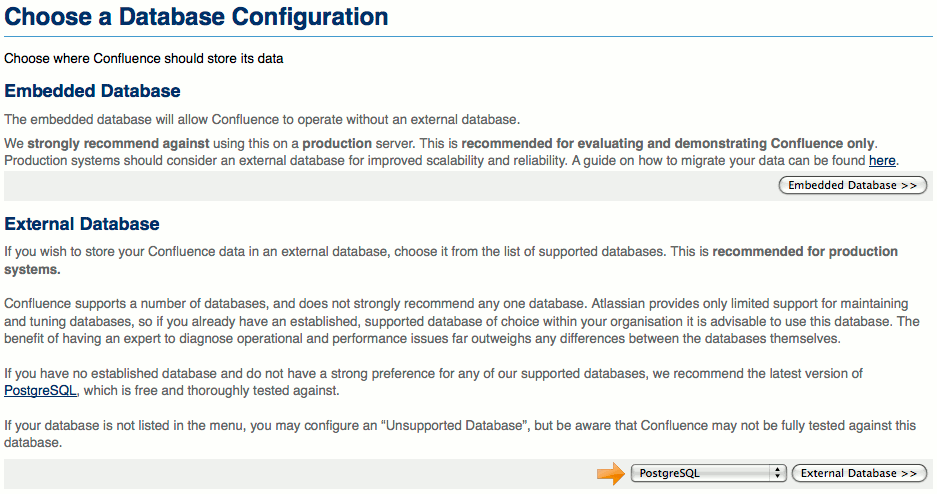
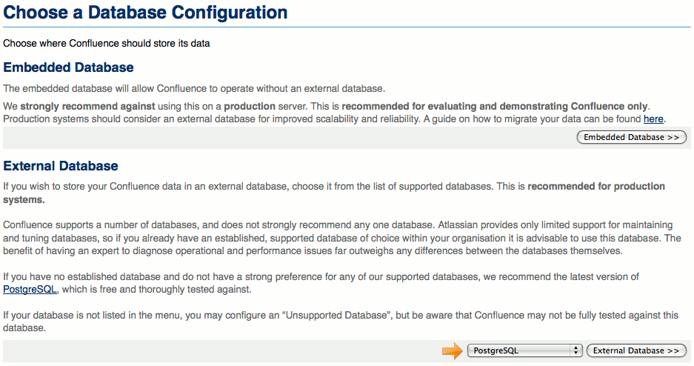
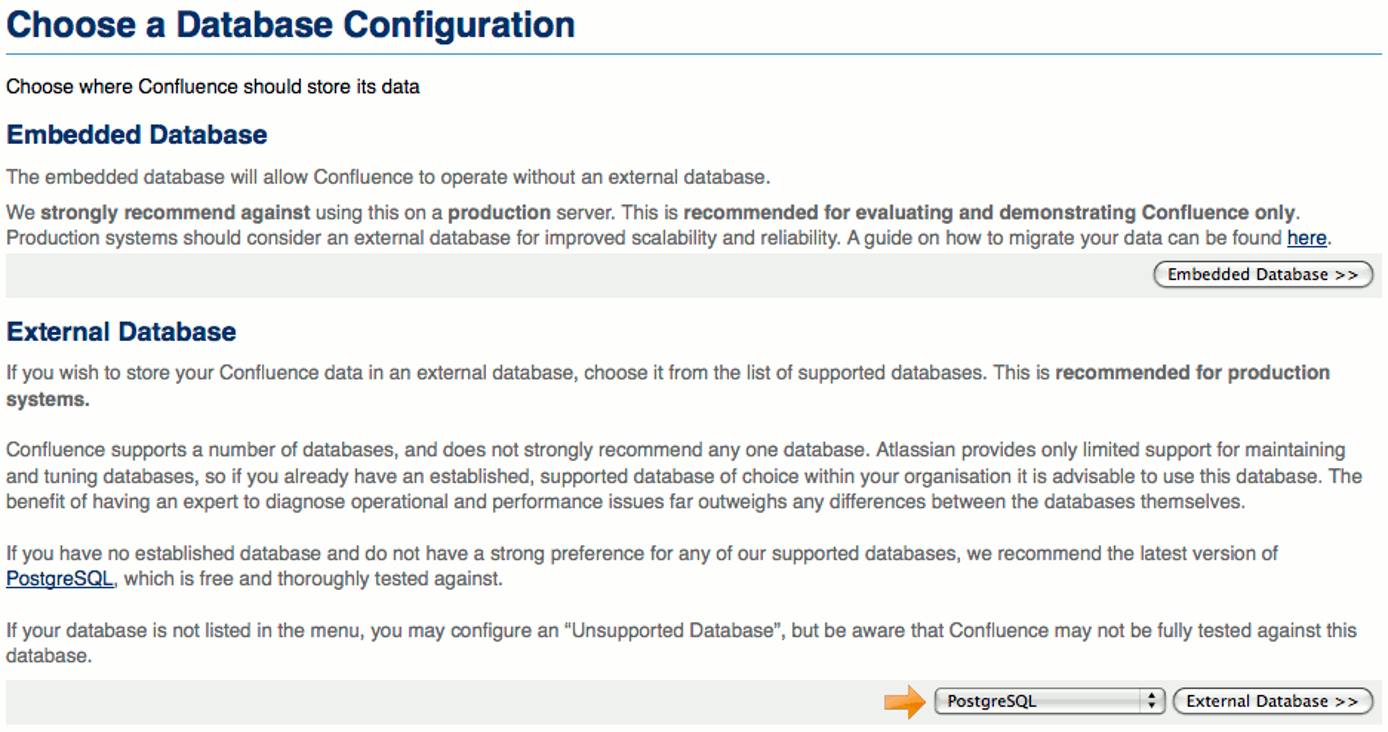
Select “PostgreSQL” under the “External Database” section and click the “External Database” button to continue.

Click the “Direct JDBC” button to continue.


Enter the following database connection details, along with your password. Click “Next” to continue.


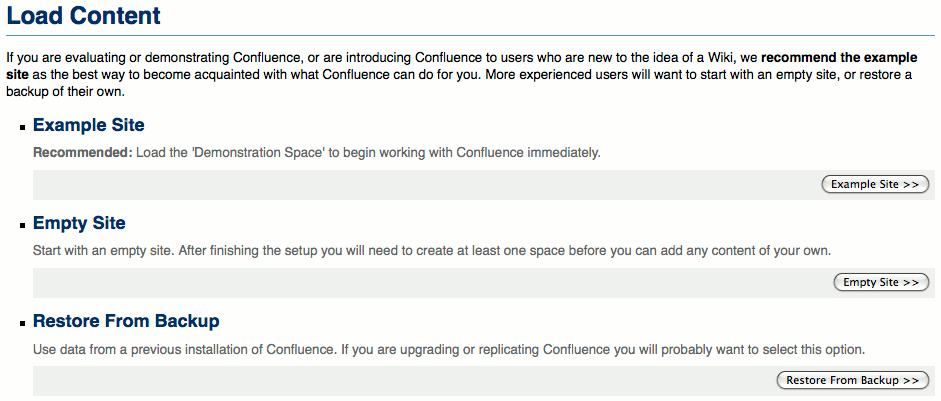
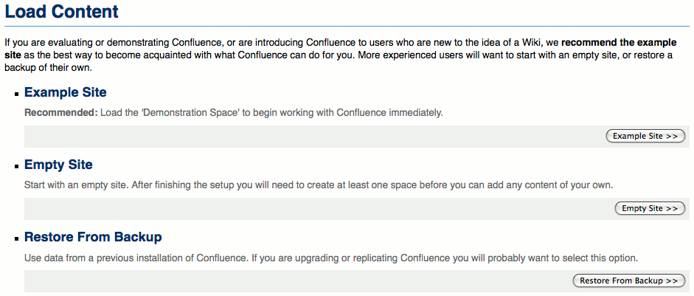
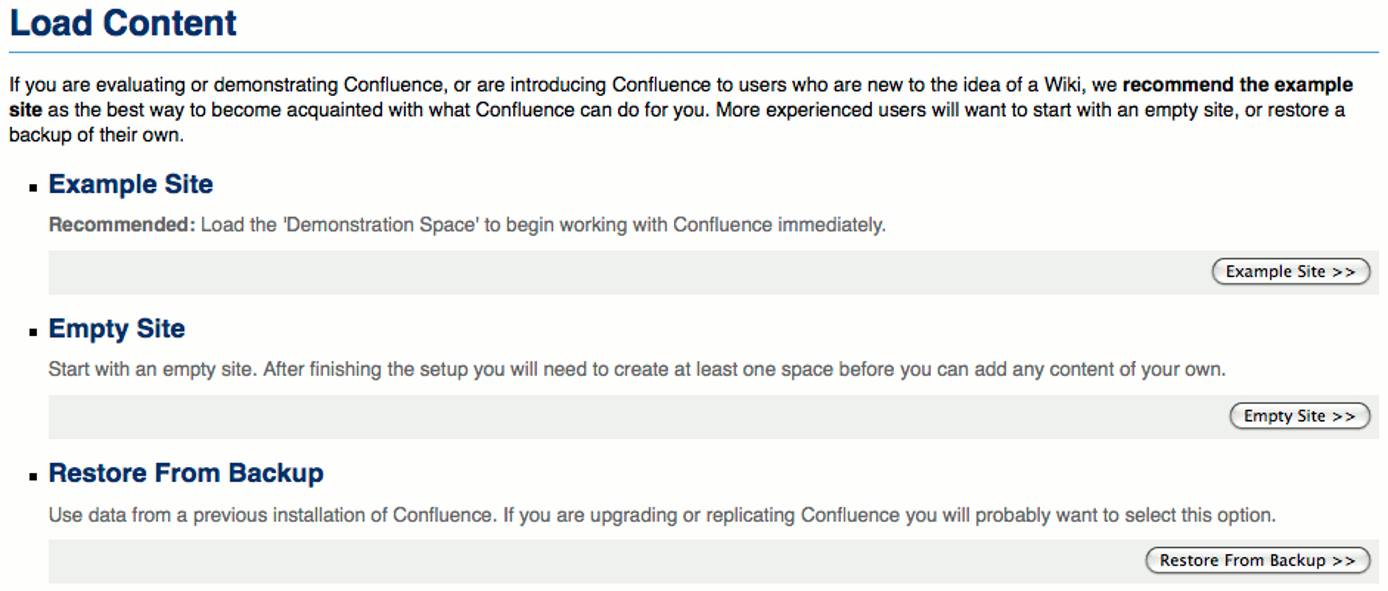
You may choose to start with an example site or an empty configuration. If you’re new to Confluence, we recommend you install the example site to gain more familiarity with the system.

Select an appropriate username for the administrative user, and be sure to enter a strong password. Click “Next” to continue.


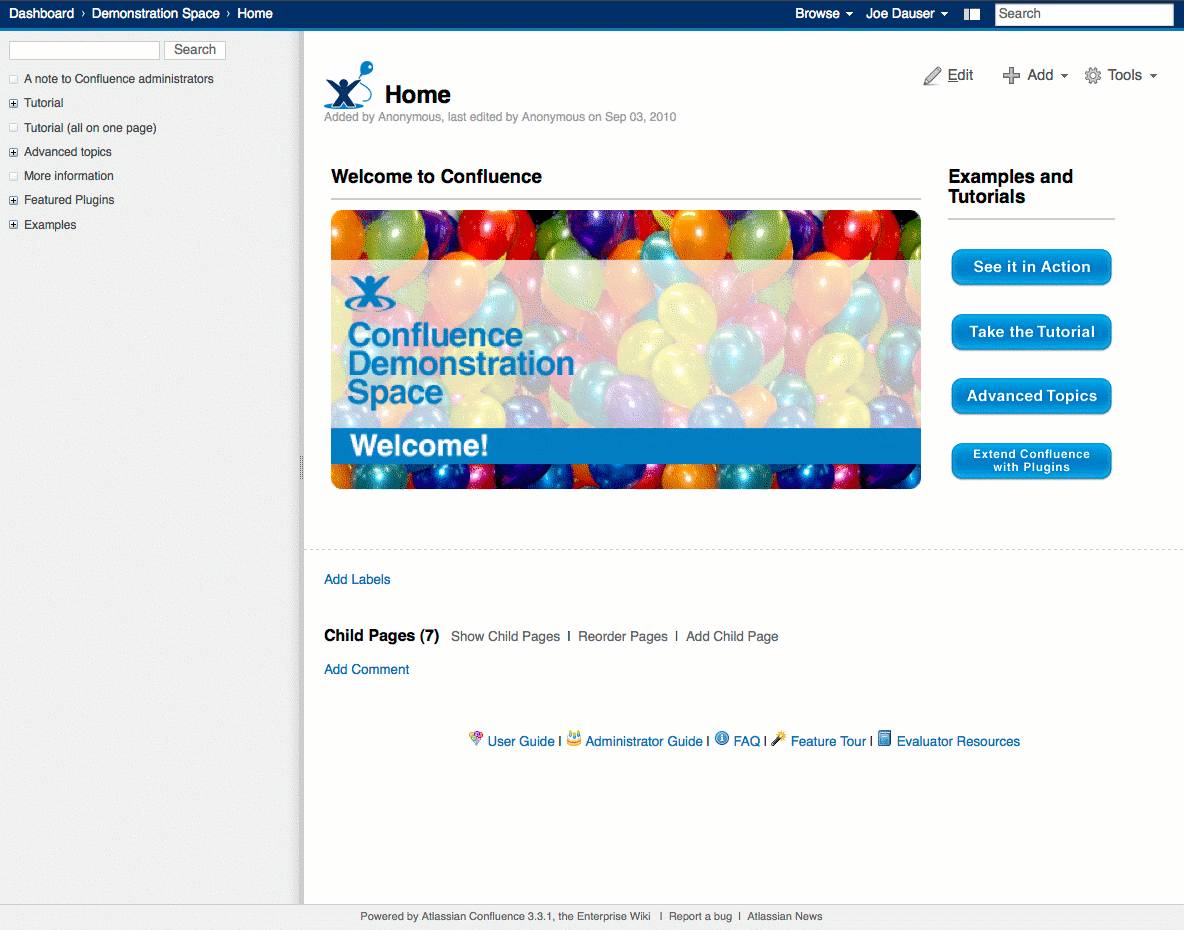
If you elected to install the example site, you’ll be greeted with a screen resembling the following screenshot.

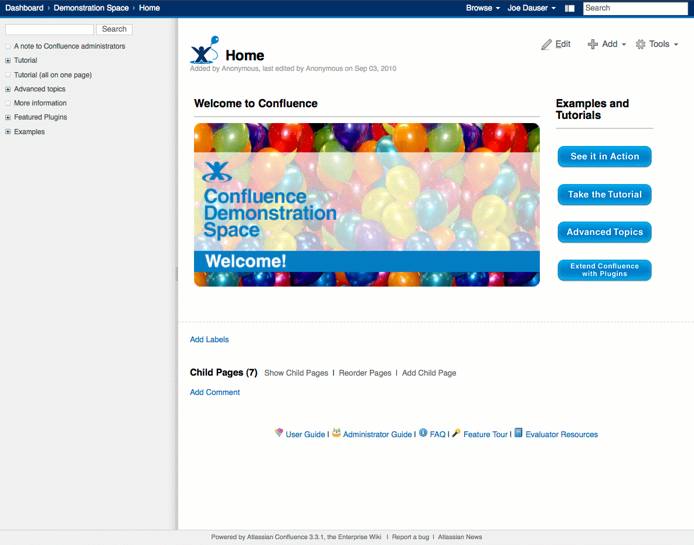
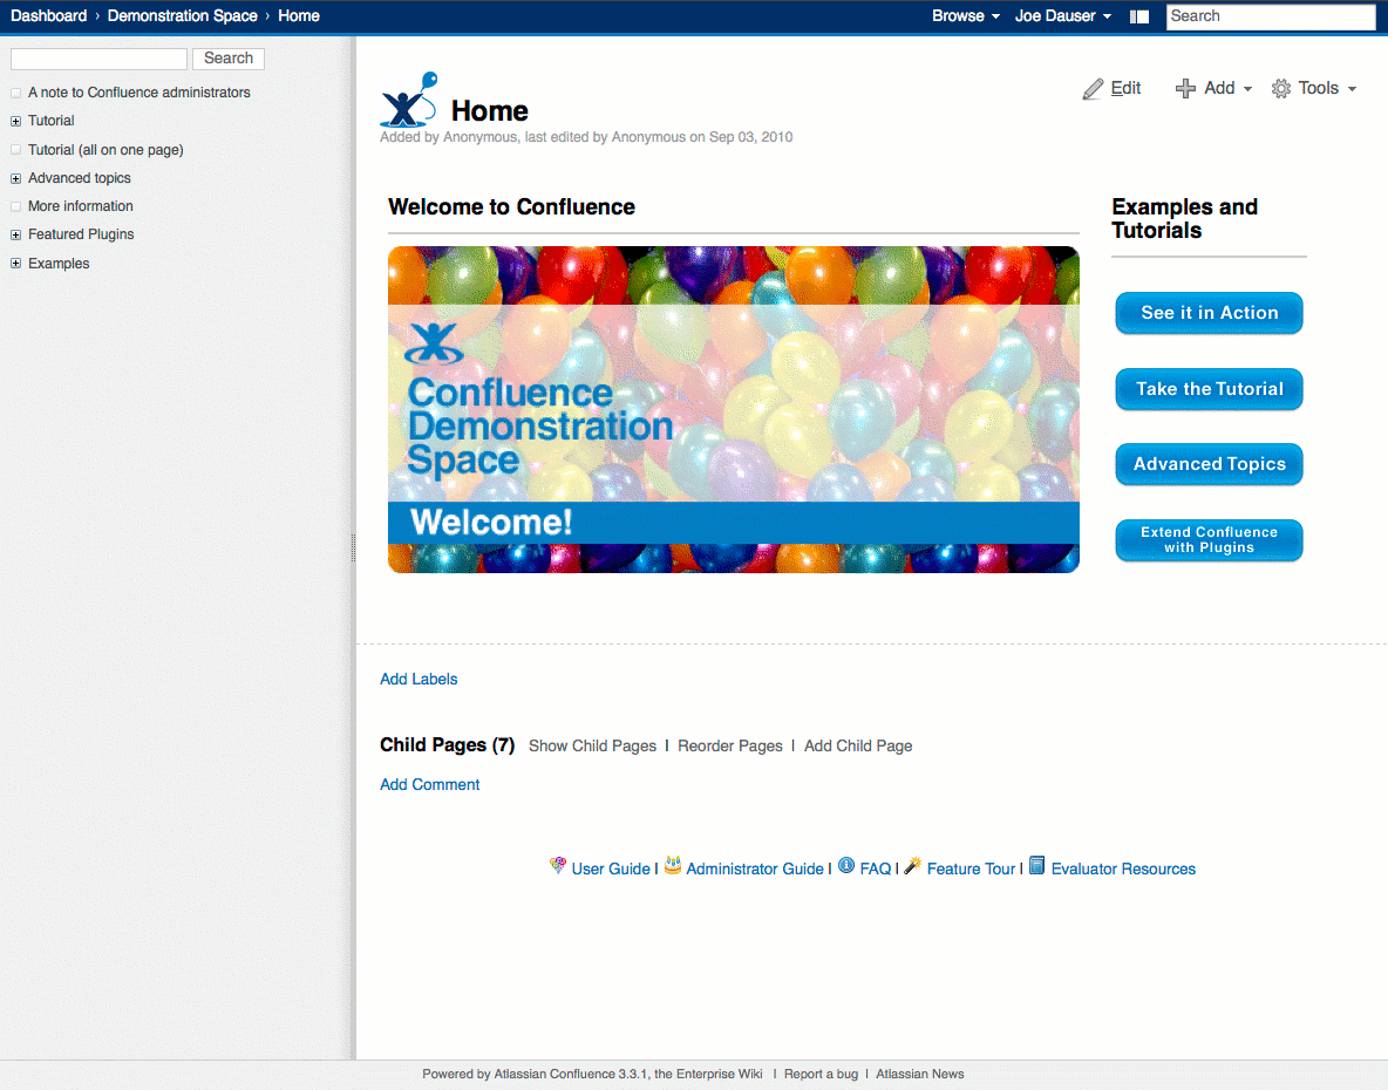
Congratulations! You’ve successfully installed Confluence on your Ubuntu 9.10 Linode.
More Information
You may wish to consult the following resources for additional information on this topic. While these are provided in the hope that they will be useful, please note that we cannot vouch for the accuracy or timeliness of externally hosted materials.
This page was originally published on

