Guides - Deploy NirvaShare through the Linode Marketplace
Quickly deploy a Compute Instance with many various software applications pre-installed and ready to use.
NirvaShare is a simplified and secure enterprise file sharing solution built on top of your existing file storage. Use NirvaShare with SFTP, local storage, or even S3-compatible storage like Linode’s Object Storage. Collaborate with your internal or external users such as customers, partners, and vendors. NirvaShare provides fine-tuned access control in a very simplified manner. NirvaShare integrates with multiple many external identity providers such as Active Directory, Google Workspace, AWS SSO, KeyClock, and others.
Deploying a Marketplace App
The Linode Marketplace allows you to easily deploy software on a Compute Instance using the Cloud Manager. See Get Started with Marketplace Apps for complete steps.
Log in to the Cloud Manager and select the Marketplace link from the left navigation menu. This displays the Linode Create page with the Marketplace tab pre-selected.
Under the Select App section, select the app you would like to deploy.
Complete the form by following the steps and advice within the Creating a Compute Instance guide. Depending on the Marketplace App you selected, there may be additional configuration options available. See the Configuration Options section below for compatible distributions, recommended plans, and any additional configuration options available for this Marketplace App.
Click the Create Linode button. Once the Compute Instance has been provisioned and has fully powered on, wait for the software installation to complete. If the instance is powered off or restarted before this time, the software installation will likely fail.
To verify that the app has been fully installed, see Get Started with Marketplace Apps > Verify Installation. Once installed, follow the instructions within the Getting Started After Deployment section to access the application and start using it.
Configuration Options
- Supported distributions: Ubuntu 20.04 LTS
- Recommended minimum plan: All plan types and sizes can be used.
NirvaShare Configuration Options
- Database Password (required): Enter a strong password for NirvaShare database.
") within any of the App-specific configuration fields, including user and database password fields. This special character may cause issues during deployment.Getting Started after Deployment
After NirvaShare has finished installing, you can access your NirvaShare instance by visiting your
Linode’s IP address at port 8080. (for example, http://192.0.2.0:8080)
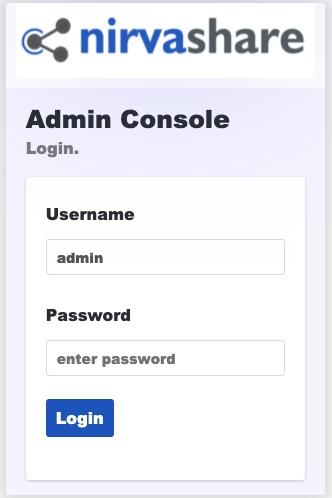
Once you visit the NirvaShare IP address you will be prompted with a Login page, you can enter admin as the username and admin as the password.

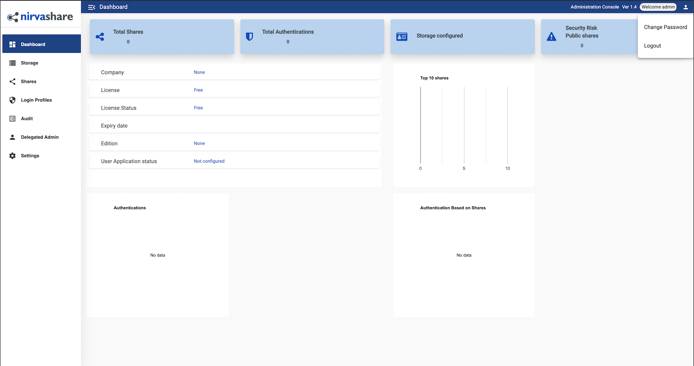
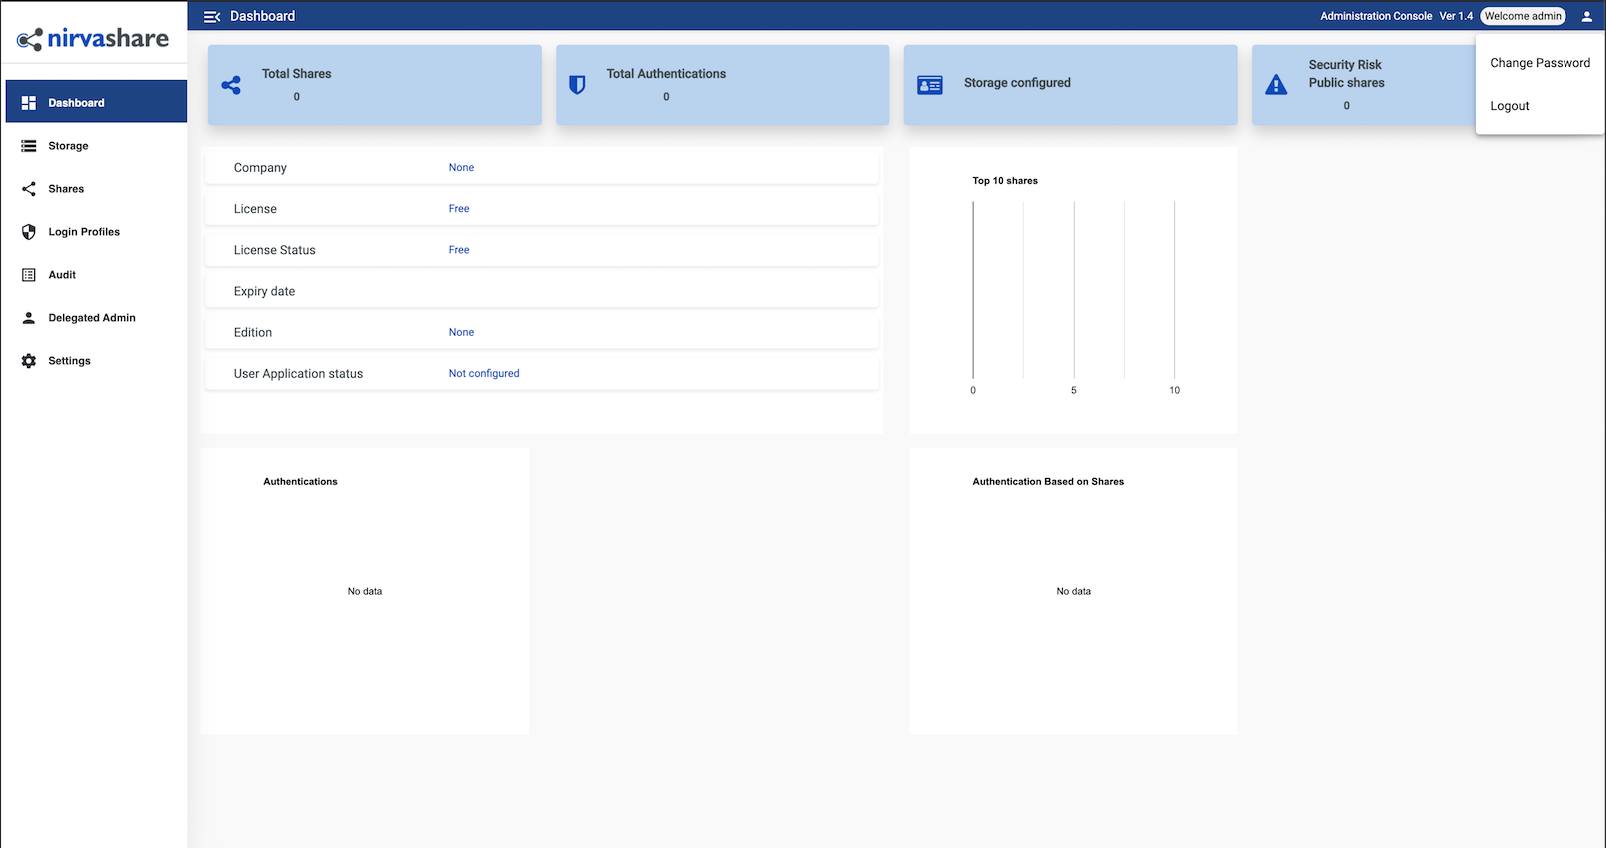
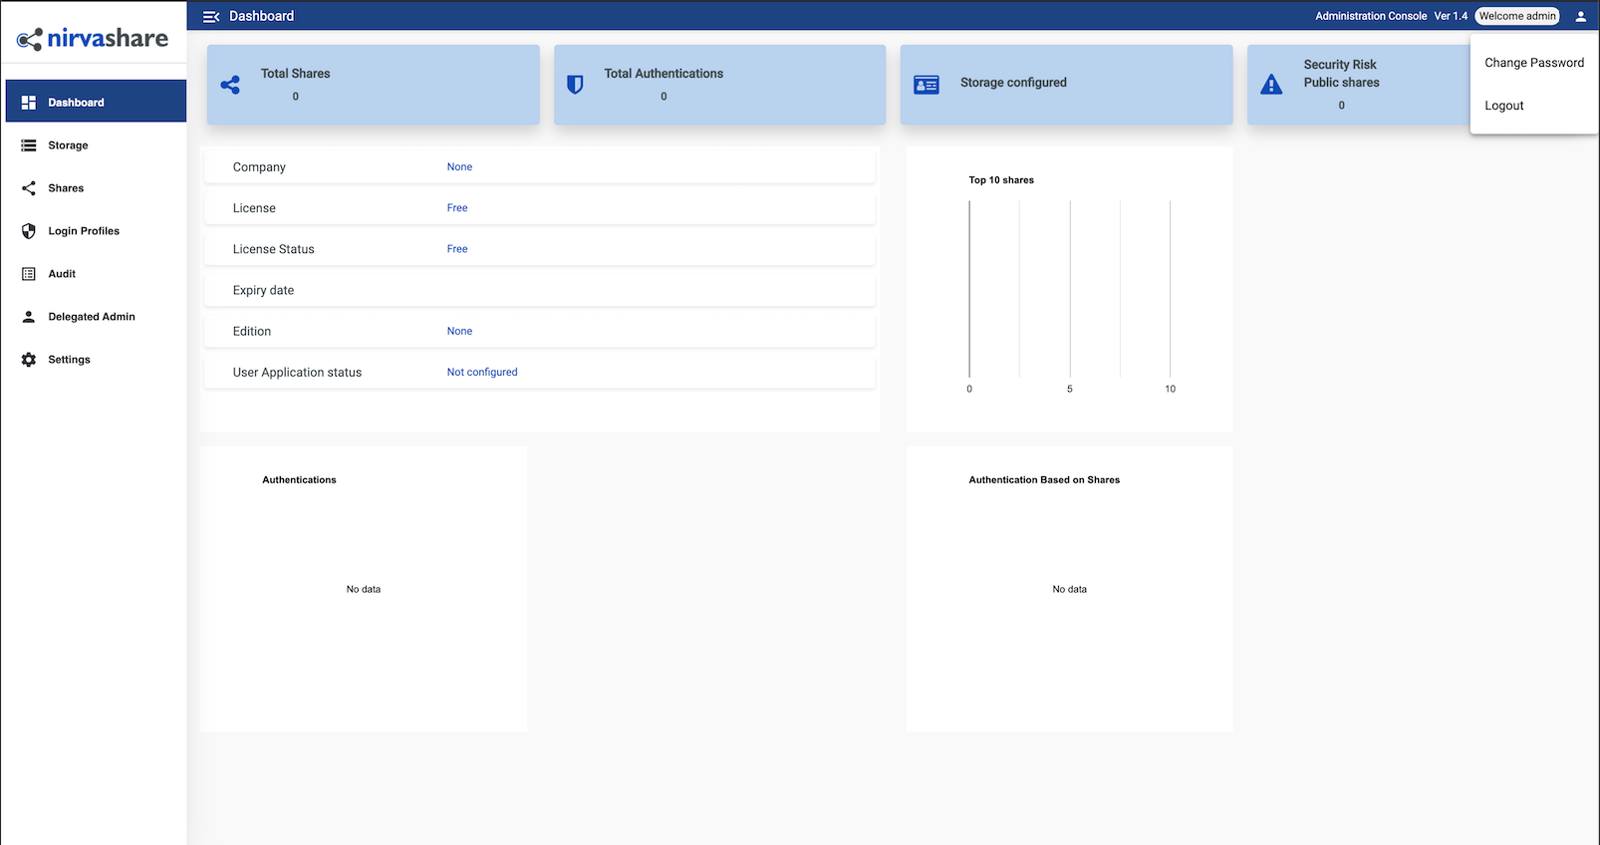
From here, you will want to change the default admin password, you can do so clicking the icon at the top right of the dashboard and select Change Password option as shown in the image below:


Now that you’ve accessed your dashboard, checkout the official NirvaShare documentation to learn how to further configure your instance.
More Information
You may wish to consult the following resources for additional information on this topic. While these are provided in the hope that they will be useful, please note that we cannot vouch for the accuracy or timeliness of externally hosted materials.
This page was originally published on

